Recipe
Russian-Style Stuffed Piroshki
Savory Russian Piroshki: A Delicious Twist on a Classic
4.1 out of 5
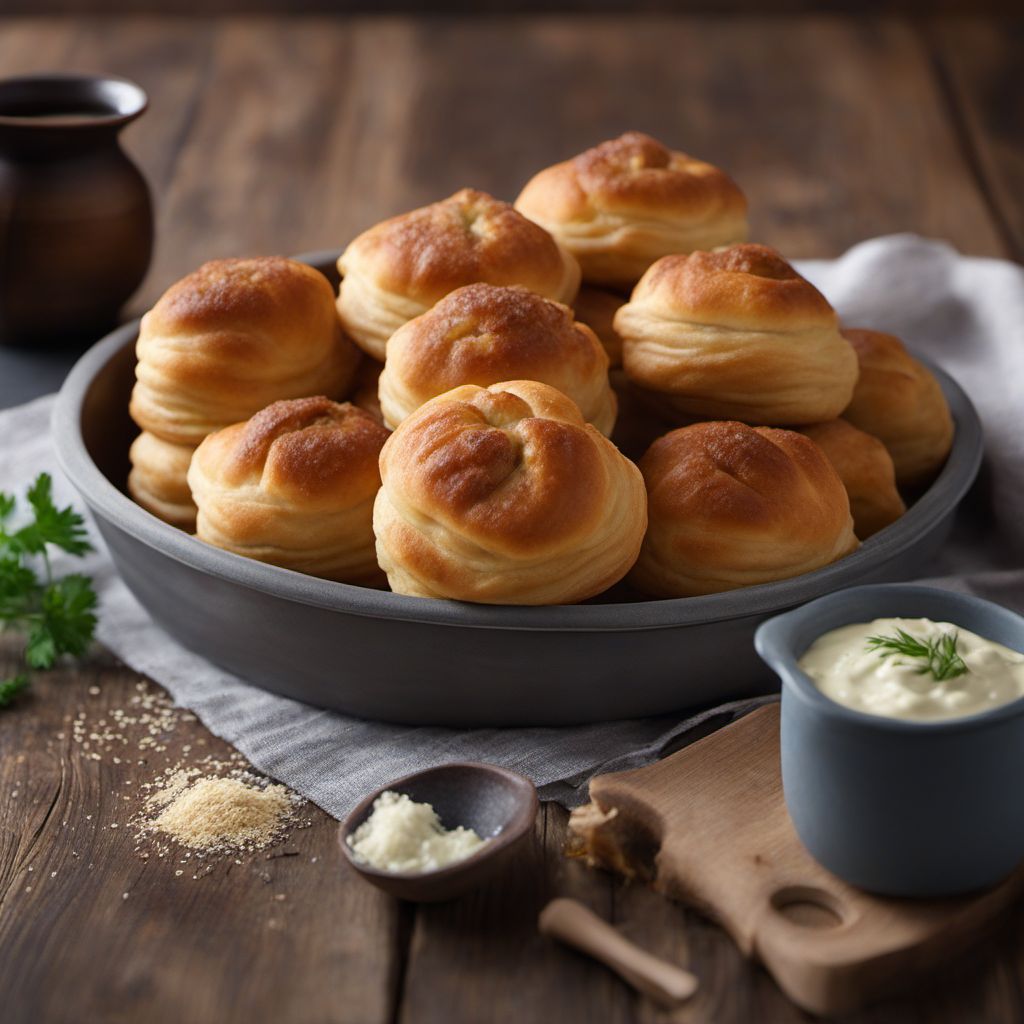
Indulge in the flavors of Russian cuisine with this delightful recipe for Russian-style stuffed piroshki. These golden, fluffy pastries are filled with a savory mixture of meat and vegetables, making them a perfect snack or appetizer for any occasion.
Metadata
Preparation time
30 minutes
Cooking time
25 minutes
Total time
1 hour 55 minutes (including rising time)
Yields
4 servings
Preparation difficulty
Medium
Suitable for
Omnivore, Low-carb (if using a low-carb dough recipe), High-protein, Dairy-free (if using dairy-free milk and omitting egg wash), Nut-free
Allergens
Wheat (gluten), Egg
Not suitable for
Vegetarian, Vegan, Gluten-free (unless using a gluten-free dough recipe)
Ingredients
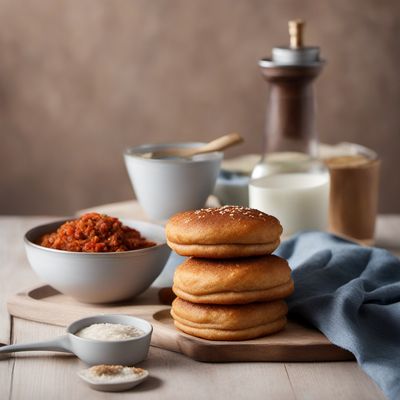
While the concept of stuffed pastries is similar in both South African vetkoek and Russian piroshki, there are some notable differences. In vetkoek, the dough is deep-fried, resulting in a crispy exterior. On the other hand, Russian piroshki are typically baked, giving them a lighter texture. Additionally, the fillings differ, with vetkoek often filled with sweet or savory ingredients, while Russian piroshki are commonly filled with a mixture of ground meat, onions, and vegetables. We alse have the original recipe for Vetkoek, so you can check it out.
-
For the dough: For the dough:
-
2 cups (250g) all-purpose flour 2 cups (250g) all-purpose flour
-
1 teaspoon instant yeast 1 teaspoon instant yeast
-
1 tablespoon sugar 1 tablespoon sugar
-
1/2 teaspoon salt 1/2 teaspoon salt
-
1/2 cup (120ml) warm milk 1/2 cup (120ml) warm milk
-
2 tablespoons vegetable oil 2 tablespoons vegetable oil
-
For the filling: For the filling:
-
250g ground beef 250g ground beef
-
1 onion, finely chopped 1 onion, finely chopped
-
1 carrot, grated 1 carrot, grated
-
1 potato, boiled and mashed 1 potato, boiled and mashed
-
2 cloves garlic, minced 2 cloves garlic, minced
-
1 teaspoon dried dill 1 teaspoon dried dill
-
Salt and pepper to taste Salt and pepper to taste
-
For brushing: For brushing:
-
1 egg, beaten 1 egg, beaten
Nutrition
- Calories (kcal / KJ): 350 kcal / 1465 KJ
- Fat (total, saturated): 15g, 4g
- Carbohydrates (total, sugars): 35g, 3g
- Protein: 18g
- Fiber: 3g
- Salt: 1g
Preparation
-
1.In a large mixing bowl, combine the flour, yeast, sugar, and salt. Mix well.
-
2.Gradually add the warm milk and vegetable oil to the dry ingredients. Stir until a soft dough forms.
-
3.Transfer the dough to a floured surface and knead for about 5 minutes, or until smooth and elastic.
-
4.Place the dough in a greased bowl, cover with a clean kitchen towel, and let it rise in a warm place for about 1 hour, or until doubled in size.
-
5.Meanwhile, prepare the filling. In a skillet, cook the ground beef over medium heat until browned. Add the chopped onion, grated carrot, minced garlic, dried dill, salt, and pepper. Cook until the vegetables are tender.
-
6.Remove the skillet from heat and stir in the mashed potato. Allow the filling to cool.
-
7.Preheat the oven to 180°C (350°F).
-
8.Punch down the risen dough and divide it into small portions. Roll each portion into a circle, about 10cm (4 inches) in diameter.
-
9.Place a spoonful of the filling in the center of each dough circle. Fold the edges over the filling and pinch to seal, forming a ball.
-
10.Place the stuffed piroshki on a baking sheet lined with parchment paper. Brush the tops with beaten egg.
-
11.Bake for 20-25 minutes, or until the piroshki are golden brown.
-
12.Serve warm and enjoy!
Treat your ingredients with care...
- Ground beef — Make sure to cook the ground beef thoroughly to ensure food safety.
- Dried dill — If you prefer a stronger dill flavor, you can use fresh dill instead of dried dill. Use 1 tablespoon of chopped fresh dill in place of the dried dill.
Tips & Tricks
- For a vegetarian version, you can replace the ground beef with a mixture of mushrooms and lentils.
- Experiment with different fillings such as cabbage and mushroom, or cheese and spinach.
- Serve the piroshki with a dollop of sour cream or a side of Russian-style pickles for an authentic touch.
- If you prefer a crispier crust, you can brush the piroshki with melted butter before baking.
- These piroshki can be made ahead of time and reheated in the oven before serving.
Serving advice
Serve the Russian-style stuffed piroshki warm as an appetizer or snack. They can also be enjoyed as a main course alongside a fresh salad or soup.
Presentation advice
Arrange the piroshki on a platter, garnished with fresh herbs such as dill or parsley, to enhance their visual appeal. Serve them with a side of sour cream for dipping.
More recipes...
For South African cuisine » Browse all
More South African cuisine dishes » Browse all
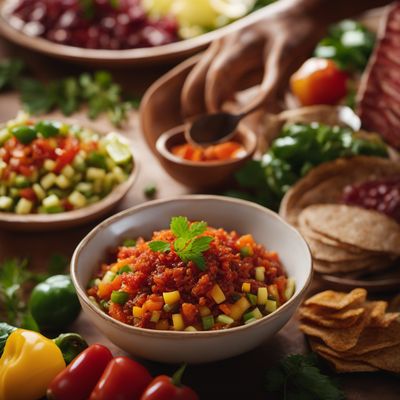
Chakalaka
Spicy vegetable relish
Chakalaka is a spicy vegetable relish that is popular in South Africa. It is made from a variety of vegetables, including onions, tomatoes, and...

Hertzoggie
Hertzoggie are a traditional South African cookie that are perfect for any occasion. They are made with a shortbread crust and a jam filling, and...

Denningvleis
South African Lamb Stew
Denningvleis is a traditional South African dish made with lamb and tamarind. It is a sweet and sour dish that is perfect for special occasions.
More Russian cuisine dishes » Browse all

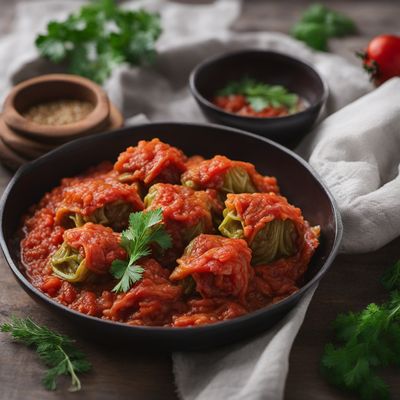
Golubtsy
Golubtsy, also known as stuffed cabbage rolls, is a traditional Russian dish that consists of cabbage leaves stuffed with a mixture of ground...
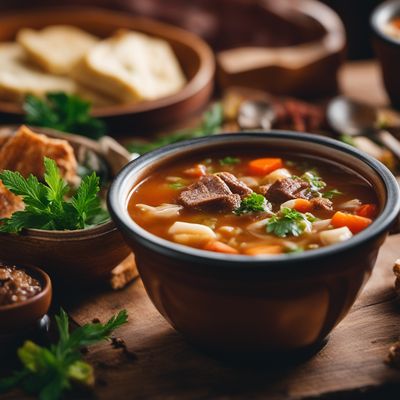
Meat Soup
Meat soup is a hearty and filling dish that is popular in many different cultures around the world. It is typically made with a base of meat...

Napolyeon tort
Napoleon cake
Napolyeon tort is a traditional Russian dessert that is perfect for any occasion. It is a rich, layered cake that is made with puff pastry,...
