Recipe
Homemade Russian Rusk
Crispy Delights: Homemade Russian Rusk Recipe
4.1 out of 5
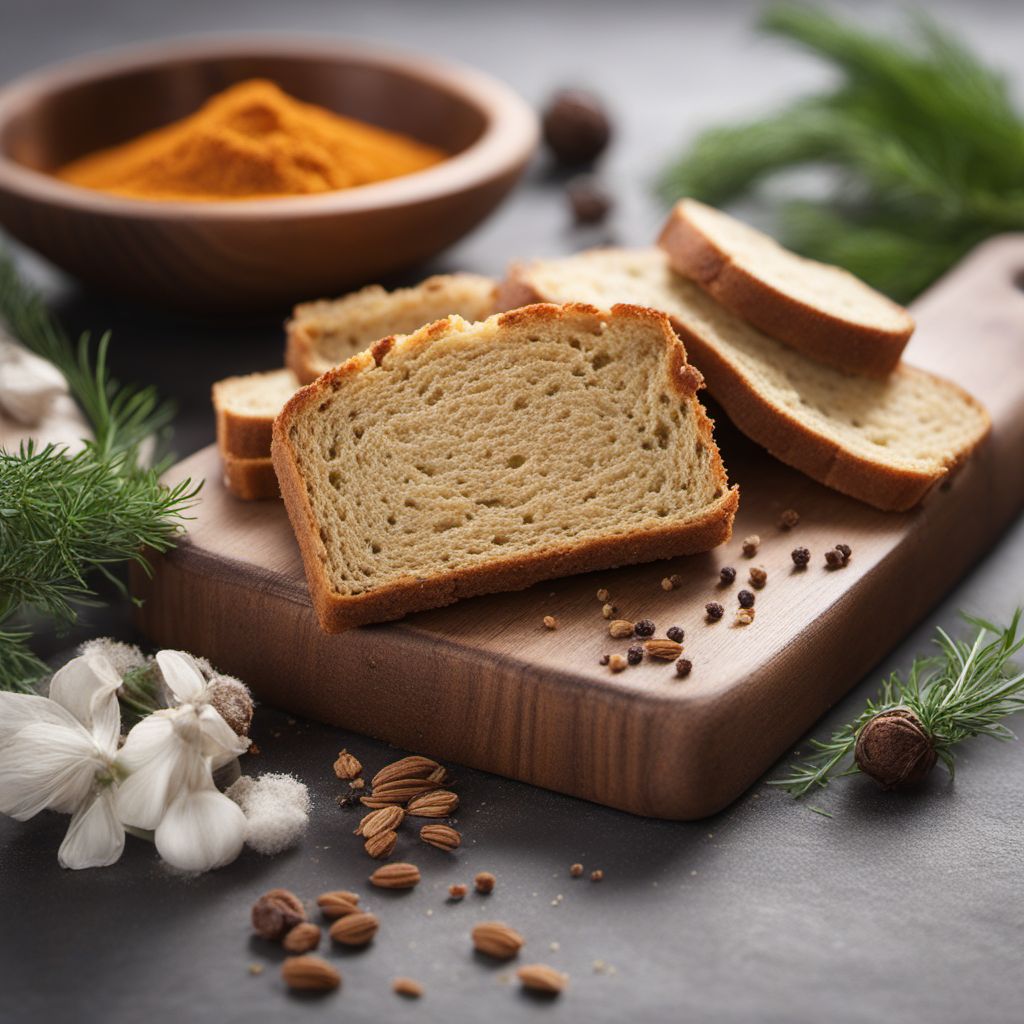
Indulge in the delightful flavors of Russian cuisine with this homemade Russian Rusk recipe. These crispy, twice-baked bread slices are perfect for breakfast or as a snack, offering a unique texture and a satisfying crunch.
Metadata
Preparation time
15 minutes
Cooking time
25-27 minutes
Total time
40-42 minutes
Yields
4 servings
Preparation difficulty
Easy
Suitable for
Vegetarian, Vegan (if using vegan bread), Dairy-free, Nut-free, Soy-free
Allergens
Wheat
Not suitable for
Gluten-free (unless using gluten-free bread)
Ingredients
-
1 loaf of bread (white or whole wheat) 1 loaf of bread (white or whole wheat)
-
2 tablespoons olive oil 2 tablespoons olive oil
-
1 teaspoon garlic powder 1 teaspoon garlic powder
-
1 teaspoon dried dill 1 teaspoon dried dill
-
1/2 teaspoon salt 1/2 teaspoon salt
-
1/4 teaspoon black pepper 1/4 teaspoon black pepper
Nutrition
- Calories (kcal / KJ): 180 kcal / 753 KJ
- Fat (total, saturated): 6g, 1g
- Carbohydrates (total, sugars): 27g, 2g
- Protein: 4g
- Fiber: 2g
- Salt: 0.6g
Preparation
-
1.Preheat the oven to 180°C (350°F).
-
2.Slice the bread into 1-inch thick slices.
-
3.In a small bowl, combine the olive oil, garlic powder, dried dill, salt, and black pepper.
-
4.Brush both sides of each bread slice with the seasoned olive oil mixture.
-
5.Place the bread slices on a baking sheet and bake for 10-12 minutes, or until golden brown.
-
6.Remove the bread slices from the oven and let them cool for a few minutes.
-
7.Once cooled, slice each bread slice into smaller pieces, about 1-inch wide.
-
8.Arrange the sliced bread pieces on the baking sheet and bake for an additional 10-15 minutes, or until the rusks are dry and crispy.
-
9.Remove from the oven and let them cool completely before serving.
Treat your ingredients with care...
- Bread — Choose a bread with a firm texture to ensure the rusks hold their shape during the baking process.
- Olive oil — Extra virgin olive oil adds a rich flavor to the rusks, but you can use any neutral oil if preferred.
- Dried dill — Feel free to experiment with other dried herbs such as thyme, rosemary, or oregano for different flavor variations.
Tips & Tricks
- For a spicier kick, add a pinch of cayenne pepper or paprika to the olive oil mixture.
- Store the rusks in an airtight container to maintain their crispiness.
- Serve the Russian Rusks with your favorite dips, such as hummus or tzatziki, for a flavorful snack.
Serving advice
Serve the homemade Russian Rusks as a snack on their own or alongside soups, salads, or cheese platters. They can also be enjoyed with spreads like butter, cream cheese, or jam.
Presentation advice
Arrange the Russian Rusks on a platter or in a basket, allowing their golden color and crispy texture to be the highlight. Garnish with fresh herbs, such as dill or parsley, for an appealing presentation.
More recipes...
More Russian cuisine dishes » Browse all

Cheese canapés
Cheese Appetizers
Cheese canapés are a simple and delicious appetizer that are perfect for any occasion. These bite-sized treats are made with a variety of cheeses...

Shrimp Canapés
Shrimp Appetizers
Shrimp canapés are a delicious and easy-to-make appetizer that are perfect for any occasion. These bite-sized treats are made with cooked shrimp...

Shuba
Herring Under Fur Coat
Shuba is a traditional Russian salad that is made with herring, potatoes, beets, and carrots. It is a hearty and flavorful dish that is perfect...


