Recipe
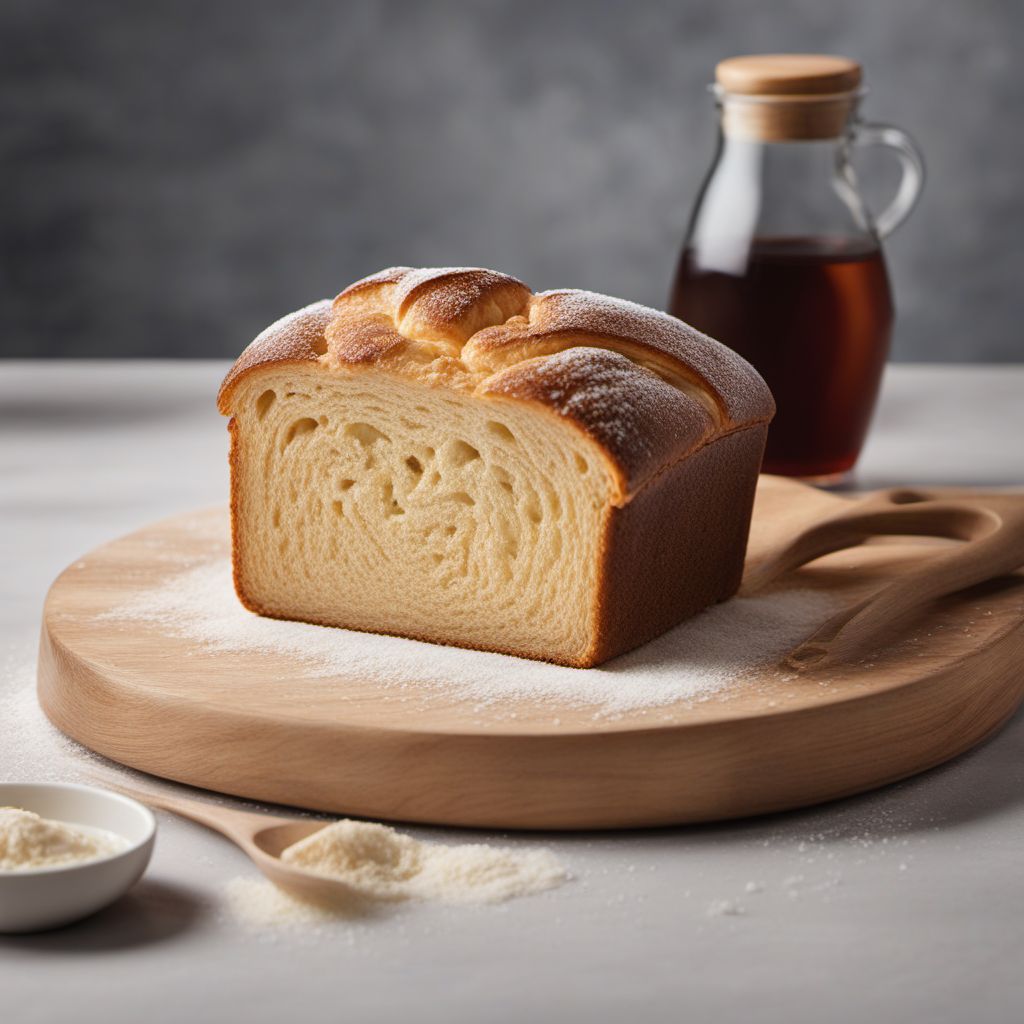
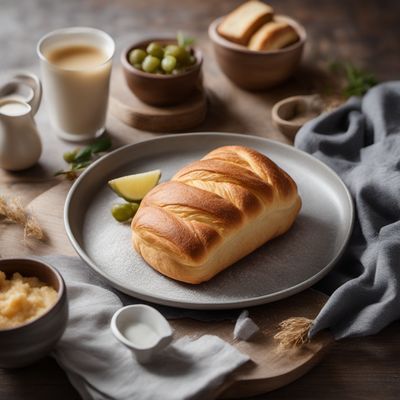
Homemade Japanese Milk Bread
Fluffy Clouds: The Art of Japanese Milk Bread
4.7 out of 5
Indulge in the delicate and pillowy texture of Homemade Japanese Milk Bread. This recipe brings the essence of Japanese cuisine to your kitchen, offering a delightful balance of sweetness and lightness.
Metadata
Preparation time
20 minutes
Cooking time
30-35 minutes
Total time
2 hours 55 minutes
Yields
8 servings
Preparation difficulty
Medium
Suitable for
Vegetarian, Lactose-free (if using lactose-free milk and butter), Nut-free, Soy-free, Kosher
Allergens
Wheat, Milk, Egg
Not suitable for
Vegan, Gluten-free, Dairy-free, Egg-free, Paleo
Ingredients
-
500g (4 cups) bread flour 500g (4 cups) bread flour
-
60g (1/4 cup) granulated sugar 60g (1/4 cup) granulated sugar
-
8g (2 1/4 tsp) active dry yeast 8g (2 1/4 tsp) active dry yeast
-
8g (1 1/2 tsp) salt 8g (1 1/2 tsp) salt
-
250ml (1 cup) whole milk, lukewarm 250ml (1 cup) whole milk, lukewarm
-
60g (1/4 cup) unsalted butter, softened 60g (1/4 cup) unsalted butter, softened
-
1 large egg, beaten 1 large egg, beaten
-
Vegetable oil, for greasing Vegetable oil, for greasing
Nutrition
- Calories (kcal / KJ): 220 kcal / 920 KJ
- Fat (total, saturated): 6g, 3.5g
- Carbohydrates (total, sugars): 35g, 6g
- Protein: 7g
- Fiber: 1g
- Salt: 0.9g
Preparation
-
1.In a small bowl, combine the lukewarm milk and yeast. Let it sit for 5 minutes until foamy.
-
2.In a large mixing bowl, whisk together the bread flour, sugar, and salt.
-
3.Make a well in the center of the dry ingredients and pour in the yeast mixture, softened butter, and beaten egg.
-
4.Mix the ingredients together until a shaggy dough forms.
-
5.Transfer the dough to a lightly floured surface and knead for 10-12 minutes until smooth and elastic.
-
6.Shape the dough into a ball and place it in a greased bowl. Cover with a clean kitchen towel and let it rise in a warm place for 1-2 hours, or until doubled in size.
-
7.Punch down the risen dough and divide it into three equal portions.
-
8.Roll each portion into a rectangle and tightly roll it up, starting from the shorter side.
-
9.Place the rolled dough into a greased loaf pan, seam side down.
-
10.Cover the loaf pan with a kitchen towel and let the dough rise for another 45-60 minutes, until it reaches the top of the pan.
-
11.Preheat the oven to 180°C (350°F).
-
12.Bake the bread for 30-35 minutes, or until golden brown on top.
-
13.Remove the bread from the oven and let it cool in the pan for 5 minutes. Then transfer it to a wire rack to cool completely before slicing.
Treat your ingredients with care...
- Bread flour — Using bread flour is essential to achieve the desired texture of Japanese milk bread. All-purpose flour can be used as a substitute, but the bread may be slightly less fluffy.
- Active dry yeast — Make sure the yeast is fresh and active to ensure proper rising of the dough. If using instant yeast, you can add it directly to the dry ingredients without proofing.
- Whole milk — The fat content in whole milk contributes to the richness of the bread. You can use low-fat milk as a substitute, but the result may be slightly less tender.
Tips & Tricks
- To achieve a lighter texture, make sure to knead the dough thoroughly until it becomes smooth and elastic.
- For a richer flavor, you can brush the top of the bread with melted butter before baking.
- To create a softer crust, cover the bread with a clean kitchen towel immediately after removing it from the oven.
- Experiment with different fillings such as chocolate, cheese, or raisins to add variety to your Japanese milk bread.
- Leftover bread can be stored in an airtight container or frozen for later use.
Serving advice
Enjoy the Homemade Japanese Milk Bread fresh out of the oven or toasted. It is perfect for making sandwiches, French toast, or simply slathered with butter and jam.
Presentation advice
Slice the Homemade Japanese Milk Bread into thick, even slices to showcase its fluffy texture. Serve it on a wooden cutting board or a bread basket for an inviting presentation.
More recipes...
More Japanese cuisine dishes » Browse all

Wakame udon
Wakame Udon
Wakame udon is a Japanese noodle dish that is made with thick udon noodles and served in a broth made from dashi and soy sauce.

Kakigōri
Kakigori
Kakigōri is a Japanese dessert that is made with shaved ice and flavored syrups. It is similar to a snow cone, but with a finer texture and more...

Goma wakame
Goma Wakame Salad
Goma wakame is a Japanese dish made with seaweed and sesame seeds.


