Recipe
Homemade Crunchy Sachima
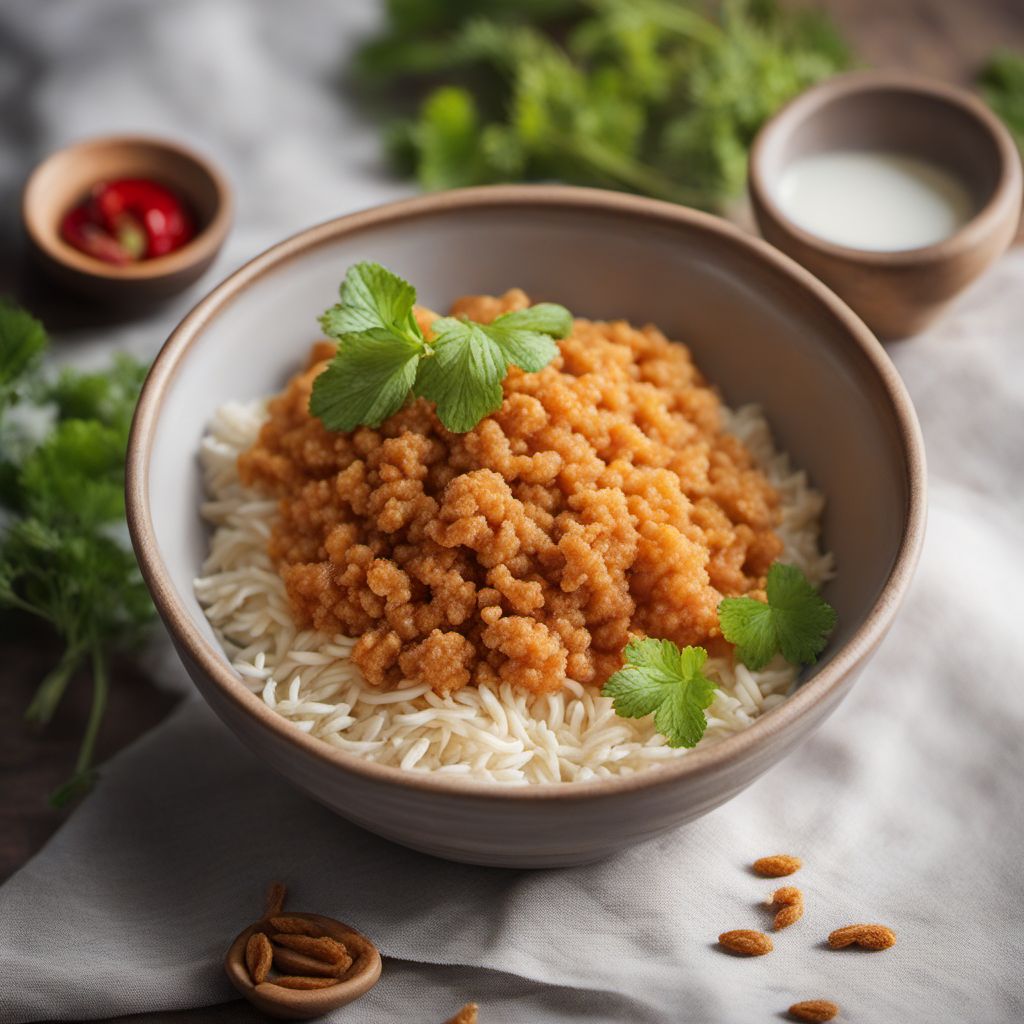
Golden Crispy Delight: Homemade Crunchy Sachima Recipe
4.3 out of 5
Indulge in the delightful flavors of Chinese cuisine with this homemade crunchy sachima recipe. This traditional Chinese dessert is a perfect combination of crispy and chewy textures, making it a popular treat for all ages.
Metadata
Preparation time
20 minutes
Cooking time
15 minutes
Total time
35 minutes
Yields
8 servings
Preparation difficulty
Medium
Suitable for
Vegetarian, Nut-free, Soy-free, Dairy-free (if using dairy-free butter substitute)
Allergens
Wheat, Eggs, Milk
Not suitable for
Gluten-free, Vegan
Ingredients
-
2 cups (250g) all-purpose flour 2 cups (250g) all-purpose flour
-
1/2 cup (100g) granulated sugar 1/2 cup (100g) granulated sugar
-
1/4 cup (60ml) unsalted butter, melted 1/4 cup (60ml) unsalted butter, melted
-
3 large eggs 3 large eggs
-
1/4 cup (60ml) milk 1/4 cup (60ml) milk
-
1 teaspoon baking powder 1 teaspoon baking powder
-
Vegetable oil, for frying Vegetable oil, for frying
-
Optional: sesame seeds for garnish Optional: sesame seeds for garnish
Nutrition
- Calories (kcal / KJ): 250 kcal / 1046 KJ
- Fat: 10g (6g saturated)
- Carbohydrates: 35g (15g sugars)
- Protein: 5g
- Fiber: 1g
- Salt: 0.1g
Preparation
-
1.In a large mixing bowl, combine the flour, sugar, and baking powder.
-
2.In a separate bowl, whisk together the eggs, melted butter, and milk.
-
3.Gradually pour the wet ingredients into the dry ingredients, stirring until a sticky dough forms.
-
4.Heat vegetable oil in a deep pan or wok over medium heat.
-
5.Take small portions of the dough and shape them into rectangular bars or desired shapes.
-
6.Carefully place the sachima bars into the hot oil and fry until golden brown on all sides.
-
7.Remove the sachima from the oil and drain on a paper towel to remove excess oil.
-
8.Optional: Sprinkle sesame seeds on top for added flavor and presentation.
-
9.Allow the sachima to cool completely before serving.
Treat your ingredients with care...
- Flour — Use all-purpose flour for the best results. Avoid using self-rising flour as it may affect the texture of the sachima.
- Eggs — Ensure that the eggs are at room temperature for better incorporation into the dough.
- Butter — Melt the butter and let it cool slightly before adding it to the dough to prevent it from cooking the eggs.
- Vegetable oil — Use a neutral-flavored oil with a high smoke point, such as canola or peanut oil, for frying the sachima.
- Sesame seeds — Toast the sesame seeds lightly in a dry pan before sprinkling them on top of the sachima for enhanced flavor.
Tips & Tricks
- For a sweeter sachima, increase the amount of sugar in the dough.
- Add a pinch of salt to the dough to enhance the overall flavor.
- Ensure the oil is at the right temperature before frying to achieve a crispy exterior and a fully cooked interior.
- Allow the sachima to cool completely before storing in an airtight container to maintain its crispiness.
- Experiment with different shapes and sizes to create a visually appealing presentation.
Serving advice
Serve the Homemade Crunchy Sachima as a delightful snack or dessert. It pairs well with a cup of hot tea or coffee.
Presentation advice
Arrange the sachima bars on a serving platter and sprinkle them with powdered sugar for an elegant touch. You can also serve them in individual paper cups for a more casual presentation.
More recipes...


More Chinese cuisine dishes » Browse all
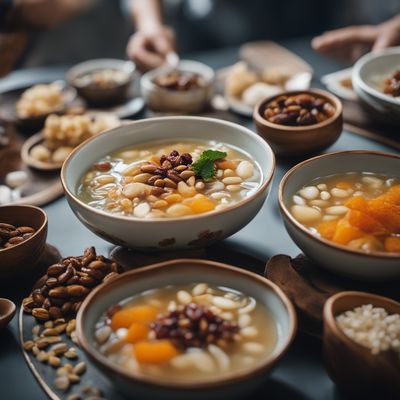
Cheng tng
Clear soup with dried fruits and nuts
Cheng tng is a traditional Chinese dessert soup made from a variety of ingredients including barley, lotus seeds, and dried longan.

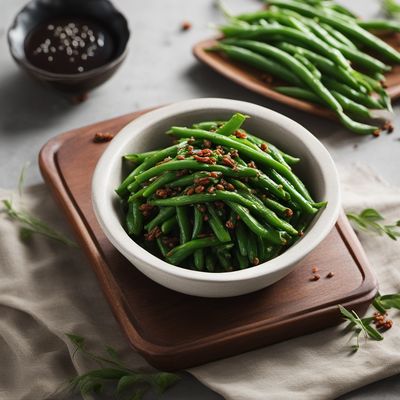
Feng zhao
Phoenix Talons
Feng zhao is a Chinese dish that is made by stir-frying chicken with vegetables and a spicy sauce. The dish is typically served with rice.

Skewered Goose Liver
Skewered Goose Liver is a luxurious and decadent dish that is perfect for special occasions. It is made with foie gras, which is the liver of a...